有効的なDP-200J問題集はJPNTest.com提供され、DP-200J試験に合格することに役に立ちます!JPNTest.comは今最新DP-200J試験問題集を提供します。JPNTest.com DP-200J試験問題集はもう更新されました。ここでDP-200J問題集のテストエンジンを手に入れます。
DP-200J問題集最新版のアクセス
「242問、30% ディスカウント、特別な割引コード:JPNshiken」
必要に応じて、次のログイン資格情報を使用します。
Azureユーザー名:xxxxx
Azureパスワード:xxxxx
以下の情報は、技術サポートのみを目的としています。
ラボインスタンス:10277521
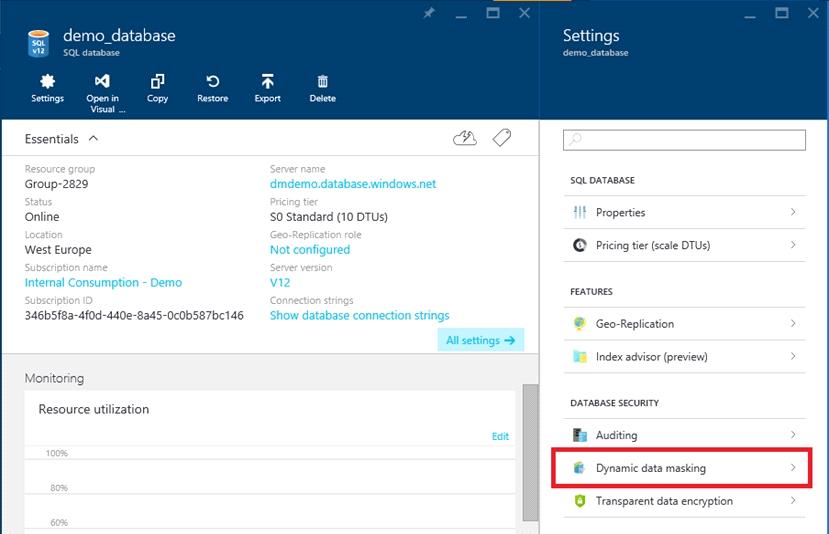
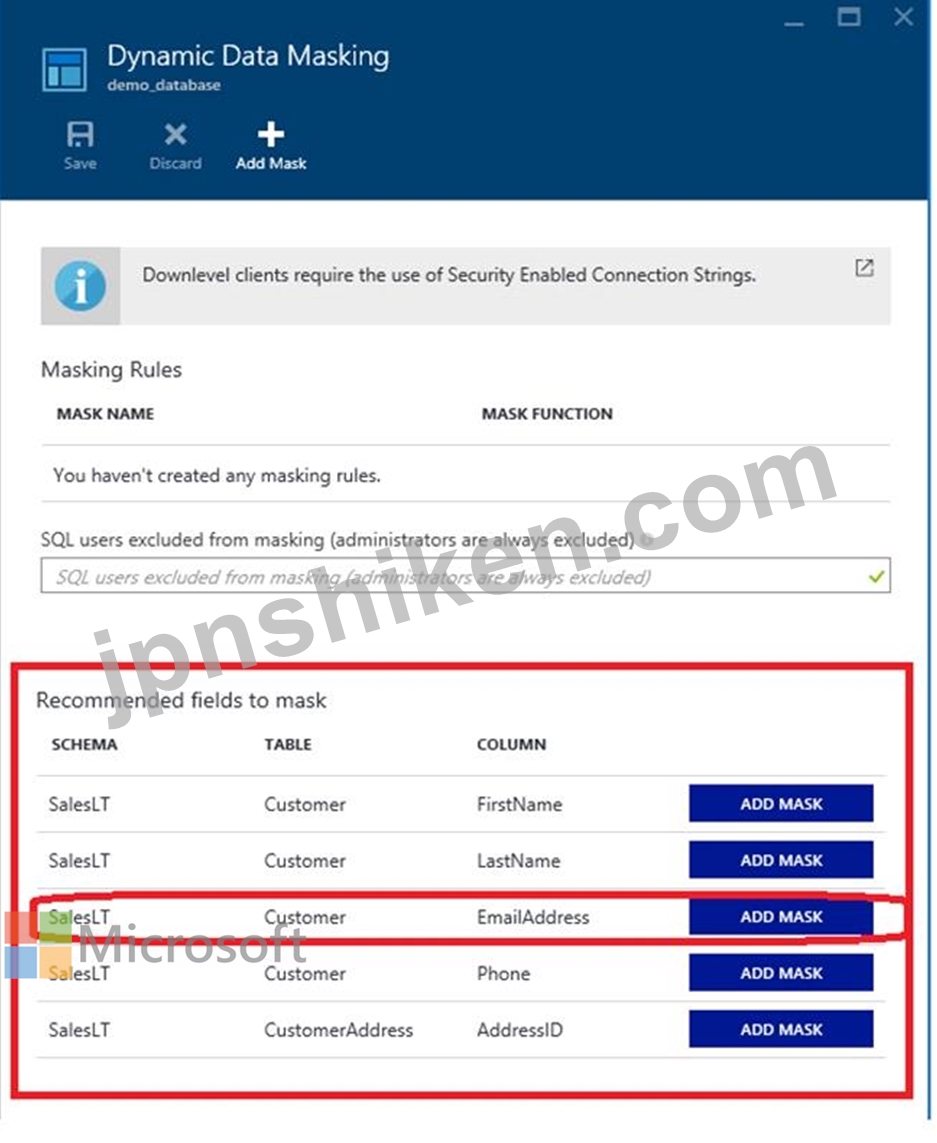
db3にクエリを実行して、販売顧客のリストを取得する予定です。クエリは、各販売顧客の電子メールアドレスを含むいくつかの列を取得します。
メールアドレスの一部がクエリ結果で非表示になるように、db3を変更する必要があります。
このタスクを完了するには、Azureポータルにサインインします。
Azureユーザー名:xxxxx
Azureパスワード:xxxxx
以下の情報は、技術サポートのみを目的としています。
ラボインスタンス:10277521
db3にクエリを実行して、販売顧客のリストを取得する予定です。クエリは、各販売顧客の電子メールアドレスを含むいくつかの列を取得します。
メールアドレスの一部がクエリ結果で非表示になるように、db3を変更する必要があります。
このタスクを完了するには、Azureポータルにサインインします。